Do-It-Yourself Ideas
Here is a list of a few of the things that I have done
to make my reef keeping easier.
*Spray Bar - This was a simple modification made to my Mini jet to diffuse and even out the flow in the tank.
Parts Include:
-Mini Jet 606 ~$15
-Plastic Tubing one inch (to fit over male end of the powerhead and connect to the
spraybar inlet) free from LFS
-Spraybar ~$5 or can be pvc piping drilled to your liking
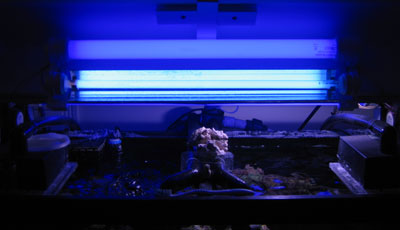
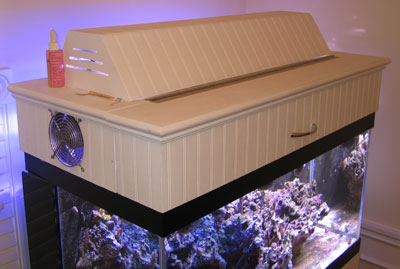
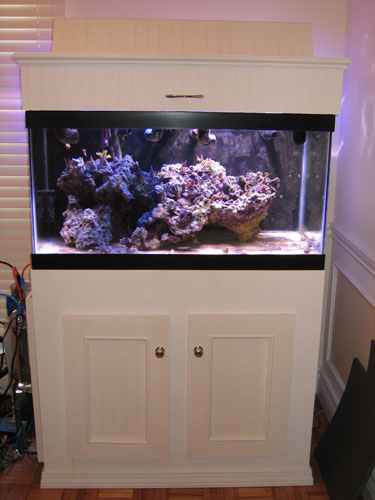
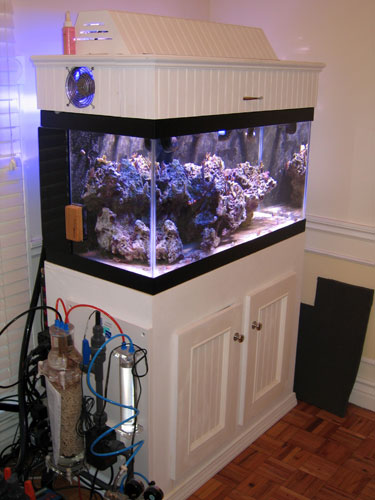
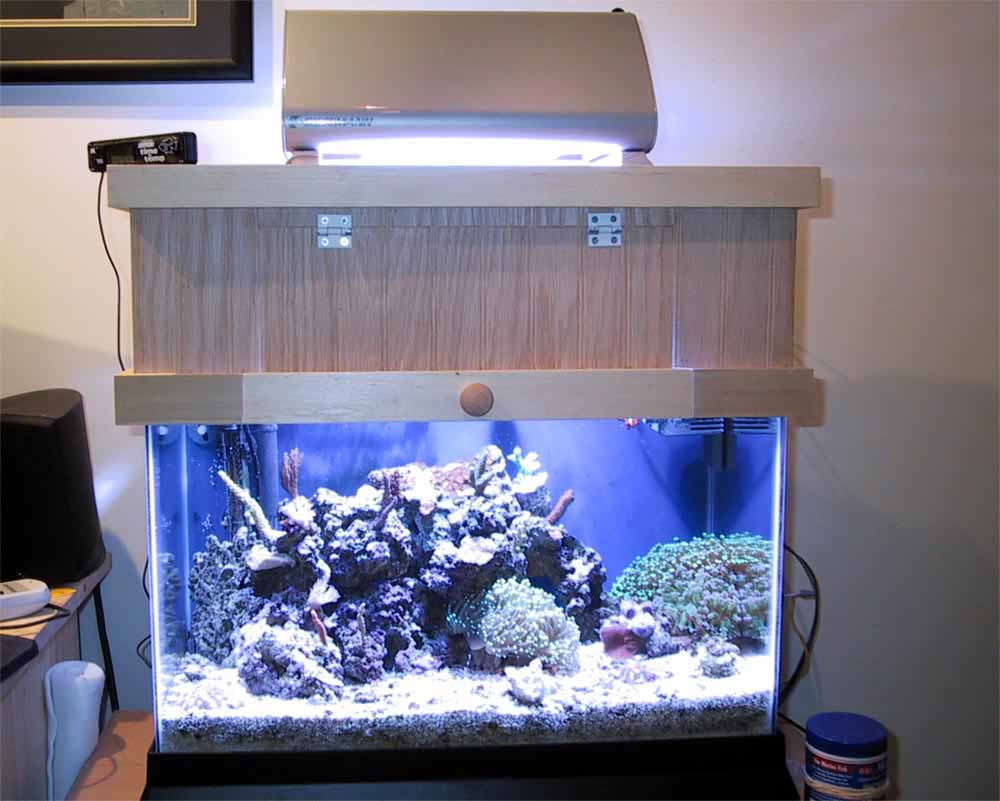
*Custom Hood - After putting in my new HQI light, I realized that I missed the glow of the actinic lights. This hood was built to incorporate my new 150 Watt HQI Metal Halide with my previous 64 watt Power Compact system, giving me a total of 214 Watts. I will put more information up about the setup when I get a chance but for now here is a picture.
Euroreef Skimmer Mods
Gate Valve Mod
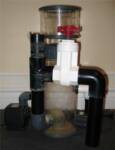
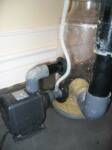
- This is a very simple modification to add to your Euroreef or ASM G-series skimmer. It's purpose is to eliminate the original adjustable stand pipe and replace it with a gate valve to enable finer tuning of the water level inside of the skimmer. It also allows you to adjust the water level without getting your hands wet.
Required Items:
* 1 1/2" Tee (slip) * 1 1/2" Gate Valve (slip x slip)
* 1 1/2" Elbow (slip) * 1 1/2" Schedule 40 Tubing (~2')
Directions:
1. Measure the diameter of your original standpipe to ensure it is 1 1/2".
2. Cut tubing to a length so that when fit into the original elbow at bottom of skimmer the tube should be about 3/4" below the bottom of the skimmer flange.
3. Place the tee on top of the newly cut tubing.
4. Cut smaller pieces of the pvc tubing to attach the gate valve to the tee and
the elbow to the gate valve.
5. Connect the pieces mentioned in the last step.
6. Cut two more pieces of pvc. One for the downpipe to be fit into the elbow.
This piece should go down about 2" from floor. The other piece should be about
6" and will fit into the upper hole in the tee. This length should be long enough
so that water does not overflow over this pipe when the gate valve is dialed in.
7. Check to make sure all fittings are snug and test. In my experience, it may
take a few hours for the skimmer to reach a stable height after the gate valve is
adjusted each time. (picture also shows the recirculation mod)
Recirculation Mod
- This modification is a little more risky than the gate valve mod, as you will need to drill new holes into your skimmer. However, if done carefully there is little to worry about. This mod is beneficial in that you can affix your needlewheel pump so that it does not have to deal with any head pressure when pumping into the skimmer. You will also have two options to chose from for feeding water to the skimmer. The preffered method is to tee off a line from your display tank's overflow with an adjustable valve so that the rate of water flowing through the skimmer can be controlled. In my case, I could not tap in to my existing plumbing, so I had to use a small pump to feed the skimmer. It is recommended that there is a flow rate through the skimmer of about 100-250 gph, depending on it's size. By reducing the flow rate through the skimmer, you can maximize the contact time between the disolved organics in the water and the oxygen bubbles produced by the needlewheel.
Required Items: (for feed pump method)
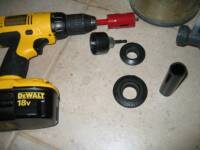
* 1" Uniseal (from Aquatic Eco Systems) * 1 3/4" Hole Saw (metal wood cutting)
* 1/2" Uniseal (from Aquatic Eco Systems) * 1 1/4" Hole Saw (metal/wood cutting)
*High speed drill * 1/2" Flexible tubing (approx. 1")
*PVC adapter (flex tubing fitting x male slip) * 1/2" Elbow (slip x slip)
* 3/4" tubing (approx 4") * 1/2" PVC tubing (approx 1 1/2")
Directions:
1. Place skimmer and separated needlewheel pump on a flat surface. Measure centered height of the venturi fitting attached to the pump. This is where you center the 1 3/4" hole for the 1" bulkhead. Mark the heigh on the skimmer and align with existing hole in the skimmer.
2. Drill a small pilot hole in the very center of the mark made in the last step.
3. Attach 1 3/4" hole saw and drill out the hole. Proceed slowly without applying too much pressure, the hardest part is getting the pilot bit on the hole saw through the skimmer chamber. After it comes through, slowly bring the rotating bit down onto the chamber and gently saw through.
4. Place the 1" uni seal in the newly made hole.
5. Test the positioning of the hole by pushing the venturi intake connected to the pump into
the uniseal. This should fit in perfectly without the pump needing to be angled up or down.
Once in all the way, measure the distance between the original uniseal above and the elbow
on the outtake of the pump.
6. With this new measurement, cut the necessary amount of tubing to plug the gap.
7. In order to add the new fitting, you must remove the pump from the 1" uniseal and
place the new fitting into the elbow. At this point gently push both the new fitting and
the venturi fitting(both connected to the pump) into their respective uniseals. They
should both be very snug. Once in this should complete the plumbing for the recirculation
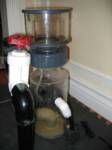
pump. Your finished product should look like the picture to the right.
8. Now it is time to add the feed pump and it's plumbing. Determine where you want the hole for the feed pump. Keep in mind how much room you have in your sump and where you have room for the feed pump. The height of the hole should be placed somewhere between the recir pump out take and the lower portion of the flange on the skimmer. If it is too high it will disturb the upper portion of the skimmer where the thicker layers of bubbles accumulate.
9. Follow the same procedure for drilling the holes above, this time with the 1 1/4" bit and
pilot bit. Again I recommend a smaller pilot hole before the larger pilot bit and holesaw are
used. (During my drilling the larger bit would all of a sudden surge through the plastic and then
catch itself, this created a lot of sheer forces on the plastic and could have easily cracked it)...so
be careful.
10. Once the hole is drilled, fit it with the uniseal.
11. Cut a small piece of adapter tubing (1/2" pvc) to fit between the elbow and the uniseal.
12. Fit the tubing in the elbow and press into the uniseal.
13. Fit in the pvc to flex tubing adapter into the elbow.
14. Measure distance from the pump outlet to the flex input on the adapter and cut your flex
tubing accordingly.
15. Affix the tubing to the pump and the adapter input and check each section to ensure everything is snug.
At this point you are all set and ready to go. Make sure you clean out any plastic cuttings that may have collected inside the skimmer after drilling with the hole saw.
**note- due to the plumbing parts I had available I used a larger size hole and fittings for the input pump. It doesn't really matter what size fittings you use just as long as you can assure a low flow rate between 100-250 gph.
